Revamping your home decor doesn’t have to be an expensive or time-consuming task. With DIY home decor projects, you can infuse your personal style into every room, creating a stylish and welcoming space. Whether you’re a seasoned crafter or a complete beginner, these seven easy DIY home decor projects will help you add a touch of charm and creativity to your home. Let’s dive into these fun and simple ideas that will have your home looking fabulous in no time!
1. Personalized Photo Gallery Wall
A gallery wall is one of the simplest ways to add a personal touch to your home decor. By displaying your favorite photos, artwork, and meaningful quotes, you can create a stunning visual story of your life and style.

Materials Needed:
- Photo frames in various shapes and sizes
- Photos, art prints, and quotes
- Paint (optional)
- Wall hooks or nails
Instructions:
- Select Your Photos: Gather your favorite photos, art prints, and quotes. You can mix and match sizes to create a more dynamic and interesting gallery.
- Arrange Your Frames: Lay out the frames on the floor to visualize your design. Try different arrangements until you find a layout that looks balanced and appealing.
- Customize Your Frames: For an added touch, paint the frames in a cohesive color scheme or add embellishments like ribbons or faux flowers. Let the frames dry completely before hanging.
- Hang Your Frames: Start with the center piece and work your way out, keeping even spacing between each frame. Use a level to ensure straight lines.
Benefits of a Gallery Wall:
- Personalizes your space with memories and meaningful art.
- Allows flexibility to change photos and artwork over time.
- Easily updated with new frames or DIY home decor elements.
2. Custom Painted Plant Pots
Bring life to your home by customizing your plant pots. Painted pots are an excellent way to add personality and color to your indoor or outdoor spaces. This DIY home decor project is also perfect for upcycling old pots that need a refresh.

Materials Needed:
- Terracotta or ceramic pots
- Acrylic paint
- Paintbrushes
- Stencils (optional)
- Sealer (optional)
Instructions:
- Prep the Pots: Clean the pots thoroughly and let them dry. A clean surface ensures the paint adheres properly.
- Apply a Base Coat: If desired, paint the pots with a base color and let them dry.
- Design Your Pot: Use paintbrushes and stencils to create your design. You can try patterns like polka dots, stripes, or even inspirational quotes.
- Seal the DIY home decor Design: If the pots will be used outdoors, apply a sealer to protect your artwork from the elements.
Design Ideas:
- Color Blocking: Use painter’s tape to section off areas of the pot and paint them in different colors for a modern look.
- Abstract Art: Let your creativity flow with abstract designs using bold brush strokes and splatters.
- Nature-Inspired: Paint floral or leaf patterns for a more organic feel.
- To enhance your DIY home decor, don’t miss our products on Flower Pots. These pots are perfect for adding a splash of color and personality to your indoor or outdoor spaces. It’s an easy, fun way to bring life to your DIY Home decor with a personal touch!
3. DIY Rope Basket
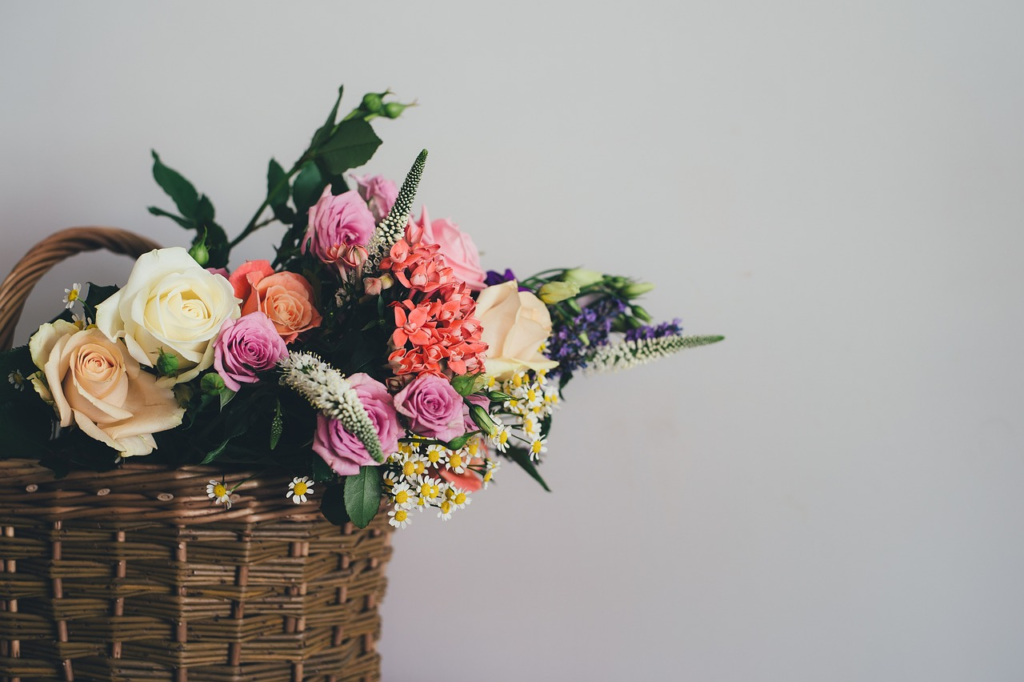
Rope baskets are stylish and functional, perfect for storing everything from throw blankets to magazines. This project involves wrapping rope around a basket form and securing it with hot glue, resulting in a chic and practical DIY Home decor piece.
Materials Needed:
- Cotton or jute rope
- Basket form (plastic, cardboard, or a balloon for a round shape)
- Hot glue gun and glue sticks
- Paint (optional)
Instructions:
- Start Wrapping: Begin at the base of your basket form. Apply hot glue to secure the rope, then start wrapping it tightly around the form.
- Continue to the Top: Keep wrapping the rope, applying glue in small sections. Adjust the tension to keep the rope snug and even.
- Finish the Basket: Once you reach the top, cut the rope and secure the end with glue. If you used a balloon as the form, pop it after the glue has dried.
- Optional Painting: For a more colorful basket, paint the rope before starting or add a splash of color to the finished product.
Uses for DIY Rope Baskets:
- Storage: Organize toys, books, or craft supplies.
- Planters: Line the inside with a waterproof material to create a unique plant holder.
- Decorative Touch: Place under tables or in entryways for added style.
4. Hand-Painted Wall Art
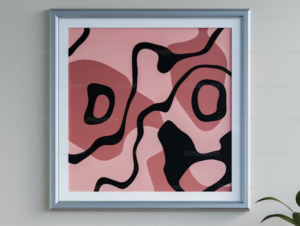
Why buy expensive art when you can create your own? Painting your own canvases allows you to express your creativity and customize artwork to fit your decor perfectly. You don’t need to be a professional artist; even simple patterns and abstract designs can look stunning.

Materials Needed:
- Blank canvas
- Acrylic paint
- Paintbrushes
- Painter’s tape (optional)
- Palette or paper plate
Instructions:
- Plan Your Design: Think about the colors and patterns you want to use. Geometric designs, abstract patterns, or nature-inspired motifs are all great starting points.
- Use Painter’s Tape: If you want clean lines or specific shapes, apply painter’s tape to section off parts of the canvas.
- Paint Your Art: Let your creativity guide you as you paint. Don’t be afraid to layer colors, add textures, or use unconventional tools like sponges or palette knives.
- Allow to Dry: Once completed, let the artwork dry completely before framing or hanging.
Tips for Creating Stunning Wall Art:
- Experiment with Techniques: Try brush splattering, dry brushing, or mixing paints directly on the canvas for unique effects.
- Incorporate Metallic: Adding gold, silver, or copper highlights can give your art an elegant and sophisticated look.
- Try Textures: Mix paint with mediums like sand or gel to create textured artwork that stands out.
- How to Paint Picture Frames (YouTube Tutorial) – Check out YouTube for step-by-step video tutorials on painting picture frames and adding embellishments, which can help you achieve a polished look.
5. Decorative Throw Pillows
Updating your throw pillows is a quick and impactful way to change the look of a room. By creating custom pillow covers, you can tailor your pillows to match your seasonal decor or add pops of color and pattern that enhance your space.

Materials Needed:
- Pillow inserts
- Fabric or plain pillow covers
- Sewing machine or needle and thread (if making covers)
- Fabric paint, patches, or embroidery supplies (optional)
Instructions:
- Sew Pillow Covers: If you’re making your own covers, cut fabric to the desired size and sew three sides, leaving one side open for the insert.
- Embellish Your Covers: Decorate plain covers using fabric paint, embroidery, or iron-on patches. Get creative with designs that reflect your personality.
- Finish the Cover: Insert the pillow and close the final side with stitching, Velcro, or a zipper for easy removal.
Ideas for Decorative Throw Pillows:
- Seasonal Themes: Create covers for different seasons or holidays, like cozy flannels for winter or bright florals for spring.
- Boho Chic: Add fringe, tassels, or beads to your covers for a bohemian vibe.
- Minimalist: Use neutral tones and simple patterns for a modern, minimalist look.
6. DIY Macrame Wall Hanging
Macrame is a popular DIY home decor trend that adds texture and a boho vibe to any space. With just some basic knots, you can create stunning wall hangings, plant hangers, or even curtains.

Materials Needed:
- Macrame cord
- Wooden dowel or branch
- Scissors
- Tape measure
Instructions:
- Cut Your Cord: Cut multiple lengths of cord, depending on the size of your desired piece. A good starting point is about 10 feet per strand.
- Attach to the Dowel: Fold each cord in half and attach it to your dowel using a lark’s head knot.
- Start Knotting: Use basic knots like square knots, half knots, and lark’s head knots to create your design.
- Finish and Trim: Once you’re happy with the design, tie off the ends and trim the cords to your desired length.
- Gallery Wall Hanging Tips from HGTV – HGTV provides expert advice on planning and hanging gallery walls, including measuring tips, layout guides, and ideas for customizing frames
Popular Macrame Patterns:
- Geometric: Create patterns with repeating square knots for a clean, modern look.
- Fringe: Add fringe by leaving the ends of the cords long and combing them out.
- Beaded: Incorporate wooden or colored beads for extra texture and interest.
7. Upcycled Furniture Makeover
Upcycling old furniture is an excellent way to create custom pieces that perfectly fit your style. Whether it’s painting an old dresser or reupholstering a chair, these projects can transform tired furniture into stunning focal points.

Materials Needed:
- Old furniture piece
- Paint or stain
- Sandpaper
- Brushes or rollers
- Fabric and upholstery tools (if reupholstering)
Instructions:
- Prep the Furniture: Clean the piece thoroughly. Sand any rough spots and remove any old paint or finish if necessary.
- Apply Paint or Stain: Choose colors that match your decor. Chalk paint is popular for a distressed, vintage look, while bold colors can make a statement piece.
- Add New Hardware: Swap out old knobs, handles, or legs with new hardware to complete the transformation.
Ideas for Upcycling Furniture:
- Painted Dressers: Create a stunning dresser with bold colors and stenciled patterns.
- Reupholstered Chairs: Update old chairs with modern fabrics or vibrant prints.
- Repurposed Pieces: Turn an old door into a coffee table or an unused ladder into a bookshelf.
Final Thoughts on DIY Home Decor
DIY home decor projects are not just a fun and creative way to spend your time—they also allow you to personalize your space and make it truly your own. From simple crafts like custom photo walls to more advanced projects like furniture makeovers, there are endless possibilities to explore. By diving into DIY home decor, you can refresh your space in a way that reflects your unique taste and style without spending a fortune. So gather your supplies, roll up your sleeves, and start creating a home that tells your story!
These DIY home decor projects are perfect for anyone looking to add a personal touch to their space. Whether you’re redecorating an entire room or just adding a few new elements, these ideas will inspire you to transform your home creatively and affordably. So, why wait? Start crafting your dream home today with these easy and fun DIY home decor projects!

